
Sauces & Condiments
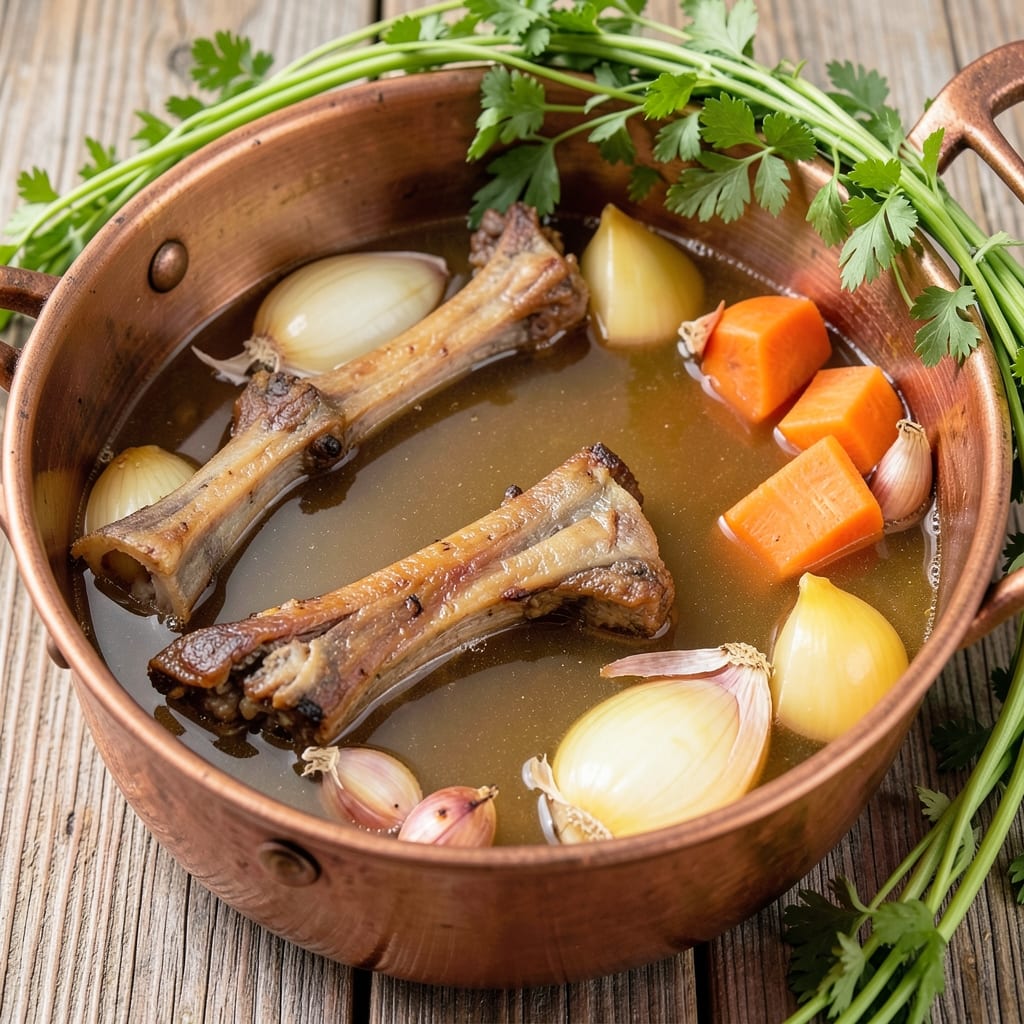
This basic beef broth recipe transforms humble ingredients into a rich, umami-packed foundation for soups, stews, and sauces—no fancy techniques required. The secret lies in simmering bones and aromatics for hours, extracting deep flavor without bitterness. I've perfected this method over years of testing, and it consistently delivers restaurant-quality results with minimal effort.
What makes this broth truly special is its simplicity: just beef bones (or chuck roast), vegetables, herbs, and water. The key technique is a long, gentle simmer—3 to 4 hours on the stovetop or 2 hours in a pressure cooker—which breaks down collagen and intensifies flavor. This method works equally well for stovetop pots or Instant Pots, making it adaptable to any kitchen.
The result is a deep, golden broth with layers of savory depth—ideal for braising, deglazing pans, or sipping straight from a bowl. Unlike store-bought versions, homemade broth develops complex flavors that elevate any dish. The best part? It keeps beautifully in the freezer for up to 6 months, so you'll always have a flavorful base on hand.
Whether you're prepping for a week of soups or need a quick flavor booster, this broth recipe delivers consistent, professional-quality results. Let's get started with a method that's both foolproof and deeply satisfying.
Ingredients for basic beef broth
Eleven ingredients, hours of simmering—transforming humble components into restaurant-quality beef broth.
| Ingredient | Amount | Notes |
|---|---|---|
| Beef Bones or Chuck Roast 🦴 | 4 lb | Raw, marrowbones preferred for richness |
| Yellow Onions 🧅 | 2 whole | Medium, peeled, halved lengthwise |
| Carrots 🥕 | 4 whole | Medium, peeled, cut into chunks |
| Celery Stalks 🌿 | 6 whole | Fresh, washed, cut into 2-inch pieces |
| Garlic Cloves 🧄 | 6 cloves | Peeled, smashed for deeper flavor |
| Fresh Parsley Stems 🌿 | 4 whole | Tough stems only, tied in bundle |
| Fresh Thyme Sprigs 🌿 | 4 whole | Stems included for infusion |
| Fresh Bay Leaves 🍃 | 2 whole | Dried works at one-third amount |
| Black Peppercorns 🌶️ | 1 tbsp | Crushed for aroma release |
| Kosher Salt 🧂 | 2 tsp | Diamond Crystal preferred |
| Cold Water 💧 | 12 cups | Filtered preferred, room temp |
The beef source defines your broth's depth. Marrowbones from a butcher shop deliver unmatched richness, but chuck roast works perfectly for a budget-friendly alternative. Look for bones with visible marrow—Whole Foods or local butchers often carry them pre-packaged. If using chuck, cut into 2-inch chunks for even cooking. The vegetables form the flavor foundation: yellow onions and carrots add sweetness, while celery contributes earthiness. Fresh herbs infuse aroma without overpowering—parsley stems and thyme sprigs are non-negotiable for authentic depth. For the best results, source everything fresh: wilted herbs or discolored vegetables will yield bitter broth.
Substitutions are possible but require compromise. No marrowbones? Substitute with additional chuck roast or beef short ribs, but expect slightly less gelatinous texture. Fresh herbs unavailable? Dried thyme and bay leaves work at one-third the amount, though flavor complexity diminishes. The black peppercorns can be omitted entirely if you prefer subtle seasoning, but the kosher salt must be added—it's essential for balancing the umami. For a lighter broth, reduce water by 2 cups; for deeper color, add 1 tbsp of tomato paste (removed after simmering). The garlic cloves can be pre-minced for faster infusion, but smashing them whole creates more surface area for flavor extraction.
This broth develops best through slow extraction, but modern kitchens demand flexibility. For stovetop simmering, use a large stockpot with tight-fitting lid—skimming foam during the first 30 minutes prevents cloudiness. The Instant Pot reduces time to 2 hours (high pressure), though flavor intensity may vary slightly. Store finished broth in glass jars or airtight containers—it keeps 5 days refrigerated or 6 months frozen. For long-term storage, portion into 1-cup ice cube trays—perfect for quick measurements later. The bones themselves can be composted or repurposed for bone broth powder if you're ambitious.
Why You'll Love This Recipe
- No Chopping Chaos: I swear by the "mirepoix" trick—just roughly chop onions, carrots, and celery into big chunks. No knife skills required, and the broth still tastes like you spent hours simmering.
- Deep Umami Magic: That beefy bone marrow or chuck roast? It melts into the broth, turning it into this rich, savory gold. Add garlic at the end, and suddenly you’ve got restaurant-quality depth without the fuss.
- Pantry Staple Upgrade: Freeze it in ice cube trays for soups, braises, or even risotto. One batch lasts me weeks—no more last-minute grocery runs when inspiration (or hunger) strikes.
- Budget-Buster Secret: Chuck roast is cheaper than takeout, and bones from a butcher’s discount bin? Even better. I’ve made 8 servings for under $15, and it tastes like I spent all day cooking. (Between us, I usually don’t.)
Step-by-step instructions for basic beef broth
Transform simple ingredients into deeply flavorful broth using this precise, professional method.
Prepare the Base Ingredients
Begin by thoroughly cleaning all vegetables. Cut the 2 whole Yellow Onions in half lengthwise and peel, leaving them whole for easier handling. Peel and chop the 4 whole Carrots into 2-inch chunks—larger pieces prevent the broth from becoming too sweet. Cut the 6 whole Celery Stalks into 2-inch sections, discarding leafy tops. This preparation ensures even cooking and maximum flavor extraction.
Peele and smash the 6 cloves Garlic Cloves with the flat side of your knife—this releases their oils and intensifies their aroma. Tie the 4 whole Fresh Parsley Stems together with kitchen twine and do the same with the 4 whole Fresh Thyme Sprigs. This bundle technique prevents small pieces from floating freely and makes straining easier later. Crush the 1 tbsp Black Peppercorns lightly between your palms to release their essential oils.
Brown the Meat for Maximum Flavor
Heat a large Dutch oven over medium-high heat. Add the 4 lb Beef Bones or Chuck Roast and sear undisturbed for 8-10 minutes until deeply browned on all sides. This caramelization creates the Maillard reaction, which forms complex flavors that dissolve into the broth. Work in batches if needed, but don't crowd the pan—this prevents proper browning.
Once browned, remove the meat from the pot and set aside. Add the prepared onions, carrots, celery, garlic, parsley bundle, thyme bundle, and bay leaves to the same pot. Stir and sear for 5 minutes until the vegetables begin to soften slightly and release their juices. This step builds additional depth by developing the vegetables' natural sugars.
Simmer for Deep Umami Development
Return the meat to the pot and add the 12 cups Cold Water. Sprinkle in the 2 tsp Kosher Salt and crushed black peppercorns. Bring to a rolling boil over high heat, then immediately reduce to a gentle simmer. The water should bubble softly with occasional small bubbles—this indicates proper simmering without violent boiling that can make the broth cloudy.
Cover partially and simmer for 3-4 hours. For beef bones, this long cook time is essential to extract collagen and marrow for rich texture. For chuck roast, 2-2.5 hours suffices. Skim any foam or impurities that rise to the surface during the first 30 minutes—this ensures clarity. The broth should reduce slightly, becoming more concentrated and deeply aromatic.
Strain and Finish
After simmering, remove the meat and vegetables from the broth using a slotted spoon. Discard the solids or save for stocks. Strain the broth through a fine-mesh sieve or cheesecloth into a clean pot. Press gently on the solids to extract every last drop of flavor—this is where the umami magic happens.
Taste and adjust seasoning if needed. The broth should be rich and savory with subtle sweetness from the vegetables. If too thin, simmer uncovered for 10-15 minutes to reduce slightly. If too thick, add hot water as needed. Transfer to airtight containers and refrigerate for up to 5 days or freeze for 3 months—the flavors will only deepen with time.
Pro Tips For Making Basic Beef Broth
- CHAR THE BONES FIRST: Start with a screaming-hot pot—no half-measures—and sear your beef bones or chuck roast until they’re deep brown, almost black in spots. This isn’t just for flavor; it’s the foundation. I used to rush this, and my broth always tasted like it was missing something. Two minutes per side, no crowding the pot.
- CUT VEGETABLES UNIFORMLY: Chop onions, carrots, and celery into even ½-inch chunks—no big hunks, no tiny confetti. The carrots and celery need time to soften and release sweetness, while the onions should caramelize just enough to deepen the broth’s richness. I learned this the hard way when I ended up with mushy carrots and raw onion bits.
- SKIP THE BOIL: Let the broth simmer at a gentle, steady bubble—tiny ripples at the edges, not a rolling boil. Boiling burns off flavor and makes the broth cloudy. After my first batch turned out bitter, I checked my thermometer: 195°F (90°C) is the sweet spot. Patience here makes all the difference.
- USE COLD WATER: Fill the pot with cold water before adding the bones or meat—never hot. Cold water ensures even heat distribution and prevents the bones from cracking or the meat from toughening. I was skeptical until I tried it; now I won’t do it any other way.
Common mistakes when making great basic beef broth
Skipping the Sear
One of the biggest mistakes is skipping the meat sear entirely. That golden crust from browning creates the Maillard reaction, which develops deep, complex flavors that dissolve into your broth. Without it, your final product will taste flat and one-dimensional. I always take the extra 10-15 minutes to properly brown the beef—it makes all the difference in the world. 🔥
Using Too Much Water
Adding 12 cups of water might seem like plenty, but overdoing it dilutes the concentrated flavors you're working so hard to extract. For a richer broth, reduce the water by 2 cups—this forces the flavors to intensify as they simmer. The ideal ratio is about 3 cups of water per pound of meat, so adjust accordingly if you're scaling the recipe.
Not Skimming the Foam
During the first 30 minutes of simmering, a layer of foam will rise to the surface. This isn't just fat—it contains impurities that can make your broth cloudy. Skim it off with a large spoon or a fine-mesh skimmer to ensure crystal-clear results. I use a slotted spoon for this step, as it makes the process quicker and more efficient.
Boiling Too Vigorously
A rolling boil breaks down proteins too quickly, resulting in a cloudy, bitter broth. Instead, aim for a gentle simmer—you should see only small bubbles breaking the surface occasionally. If you're unsure, use a meat thermometer to monitor the temperature: 185-200°F is the sweet spot for broth development without overcooking.
Overcooking the Vegetables
While simmering, the vegetables will soften and release their flavors, but if left too long, they'll turn to mush and create a gritty texture. Remove them after 3-4 hours (or 2-2.5 hours for chuck roast) to avoid this. The goal is to extract flavor, not turn the veggies into a puree. A quick taste test can help you determine when they're done.
Ignoring the Straining Step
Straining is where the magic happens—it removes all the solids, leaving you with a silky-smooth broth. Use a fine-mesh sieve or even cheesecloth for the smoothest results. Press gently on the solids to extract every last drop of flavor, but don't squeeze too hard or you'll end up with a gritty texture. This step is non-negotiable for a professional-quality finish. 💫
Nutrition facts
Frequently asked questions
Can I use beef chuck roast instead of bones for this broth?
Chuck roast works perfectly and is more budget-friendly. Cut it into 2-inch chunks and simmer for 2-2.5 hours instead of 3-4 hours. The meat will break down completely, creating a rich, meaty broth with excellent texture. Just avoid fatty cuts like brisket, as they can make the broth greasy.
How do I make this broth in a pressure cooker?
For an Instant Pot or electric pressure cooker, follow the same prep steps, then cook on high pressure for 90 minutes (no need to sear first). Release pressure naturally, then strain. The result is ready in 1 hour instead of 4, though flavor depth may be slightly less concentrated. For extra richness, brown the meat separately before adding to the pressure cooker.
Why does my broth look cloudy after simmering?
Cloudiness usually means you didn't skim the foam during the first 30 minutes or boiled too vigorously. For crystal-clear broth, skim regularly and maintain a gentle simmer (small bubbles, not a rolling boil). If it's already cloudy, chill it overnight—the fat will solidify on top and can be easily removed. This is normal and doesn't affect flavor.
Can I add tomatoes or tomato paste to this recipe?
Yes, but use sparingly! Add 1 tbsp tomato paste at the start (removed after simmering) for deeper color, or 1/2 cup crushed tomatoes for subtle sweetness. Too much will overpower the beef flavor. For a traditional approach, skip tomatoes entirely—the recipe already delivers rich umami from the bones and vegetables.
How should I store and reheat leftover broth?
Store in airtight containers in the fridge for 5 days or freeze for 6 months. When reheating, warm gently on the stove over low heat (never microwave directly from frozen). For best results, thaw overnight in the fridge first. The flavors actually improve with time—freeze in 1-cup portions for easy use in recipes.